


5 of my Healthy Go-to Pressure Cooker Recipes
for saving time and effort in the kitchen (a MUST for a mom trying to home-cook healthy meals all the time...😅)

It’s bout that time for more recipes, isn’t it?! 😉
So, you know how sometimes you want something, but you’re not always fully confident you’re *actually* going to use it or at least use it enough?
Well, for Christmas last year, I asked for this Dream Cooker by Our Place and I wasn’t entirely sure I was going to make good use of it because before having this amazing kitchen gadget, I had the big, bulky, not-so-attractive Ninja Foodie which hardly saw the light of day 😂. However, I use the Dream Cooker EVERY.WEEK; sometimes to cook a full meal, other times, to batch-cook ingredients. Either way, it’s been a surprisingly GREAT addition to the kitchen and has saved me SO MUCH time and effort (which is a MUST for a mom trying to home-cook healthy meals all the time, ya feels?)
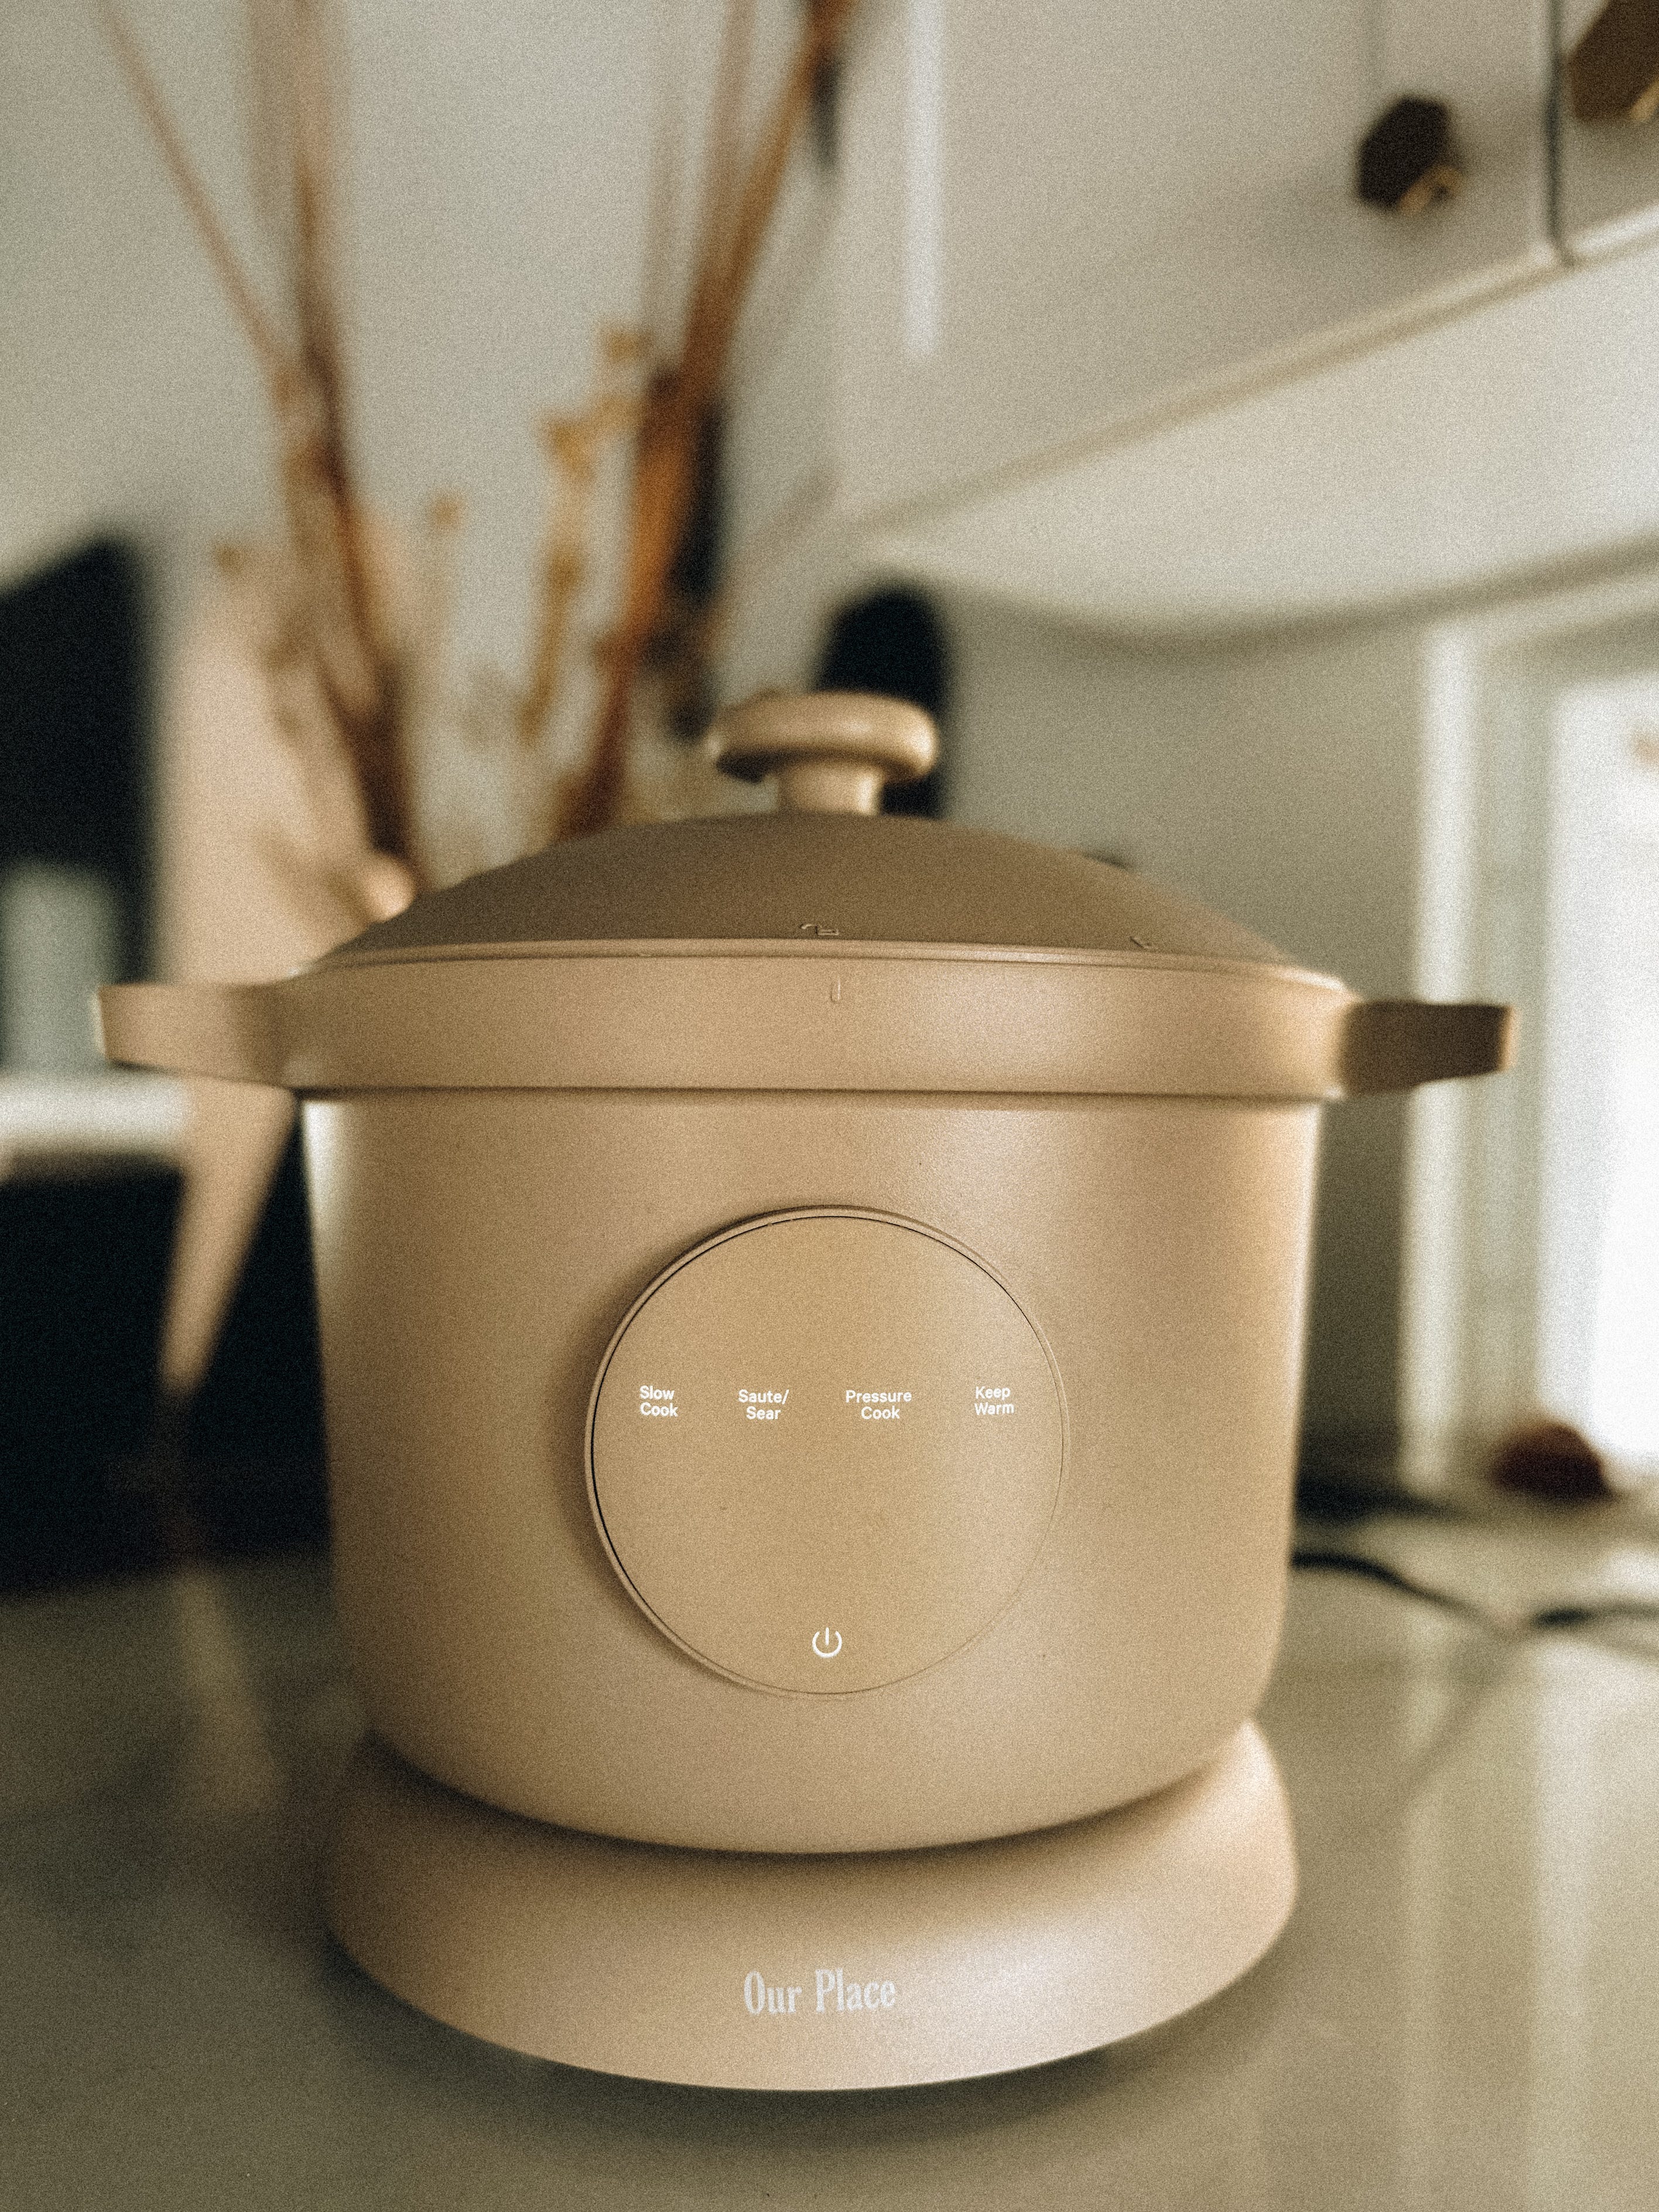
So, I’ve compiled some of my go-to Dream Cooker recipes and I’m sharing them with you today! YAY! 🥳 And you can absolutely use these for an Instant Pot too (or any similar pressure cooker…I think, haha 😅).
Grains
Batch-cooking grains is something I do VERY OFTEN to save myself time in the kitchen. What do I mean by “batch cooking”? I prepare a big batch of grains ONCE to use in multiple meals during the week. Here are a few of my go-to’s:
Quinoa
Ingredients:
2 cups quinoa
2 cups bone broth
1 cup filtered water
(or you can just do 3 cups of filtered water)
Instructions:
Throw all the ingredients into the pot, seal the lid, and pressure cook on HIGH for 1 minute. Then allow the pressure to naturally release for about 10 minutes (I just let it naturally release until all the pressure is gone and it automatically moves into the warm setting).
*Note: You can adjust this recipe to make as much quinoa as you want as long as you stick with the ratio of 1 part quinoa: 1.5 parts water.
Jasmine Rice
Ingredients:
2 cups rice
2 cups bone broth (or filtered water)
Instructions:
Throw all the ingredients into the pot, seal the lid, and pressure cook on HIGH for 1 minute. Then allow the pressure to naturally release for about 10 minutes (I just let it naturally release until all the pressure is gone and it automatically moves into the warm setting).
*Note: You can adjust this recipe to make as much (white) rice as you want as long as you stick with the ratio of 1 part rice: 1 part water.
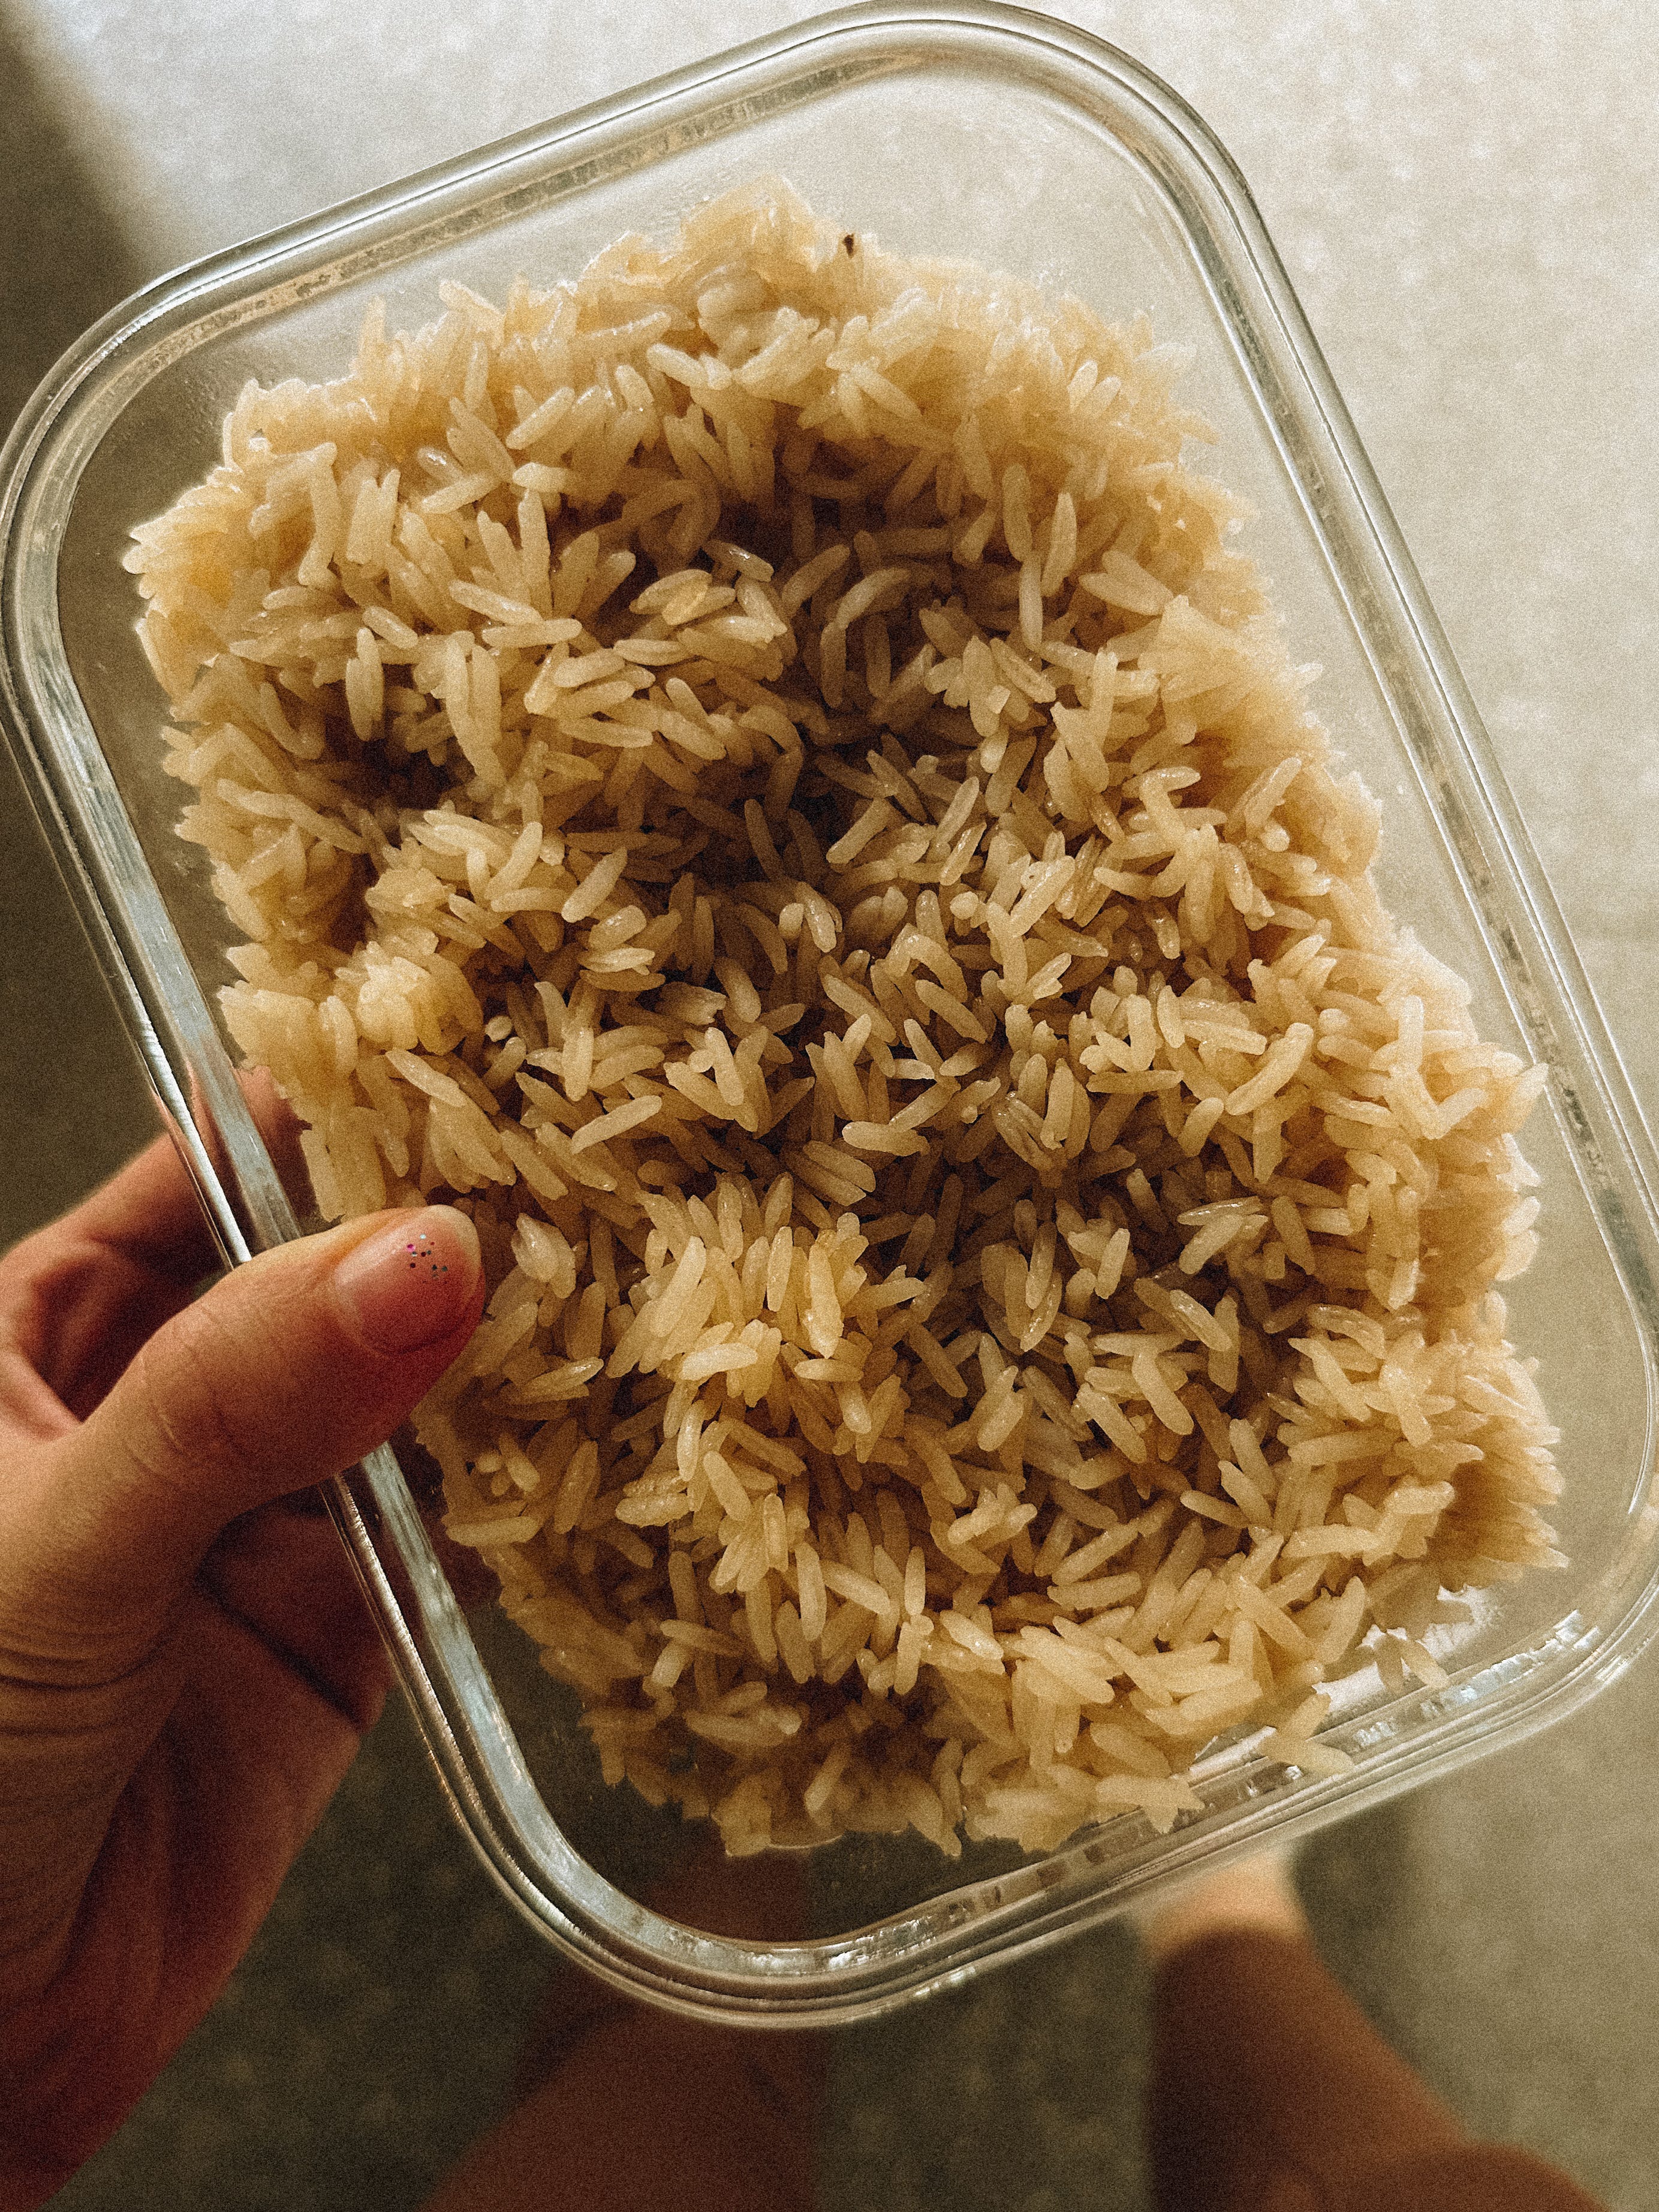
Brown Rice
Ingredients:
2 cups rice
2 cups bone broth (or filtered water)
Instructions:
Throw all the ingredients into the pot, seal the lid, and pressure cook on HIGH for 15 minutes. Then allow the pressure to naturally release for about 10 minutes (I just let it naturally release until all the pressure is gone and it automatically moves into the warm setting).
*Note: You can adjust this recipe to make as much (brown) rice as you want as long as you stick with the ratio of 1 part rice: 1 part water.
I don’t add any salt until after cooking, but this is just a personal preference.
Boiled “Jammy” Eggs
Okay, so I like my boiled eggs JAMMY and that’s what you will get with this recipe – boiled eggs with “jammy” yolks (the yolks aren’t very runny, but they also aren’t fully set).
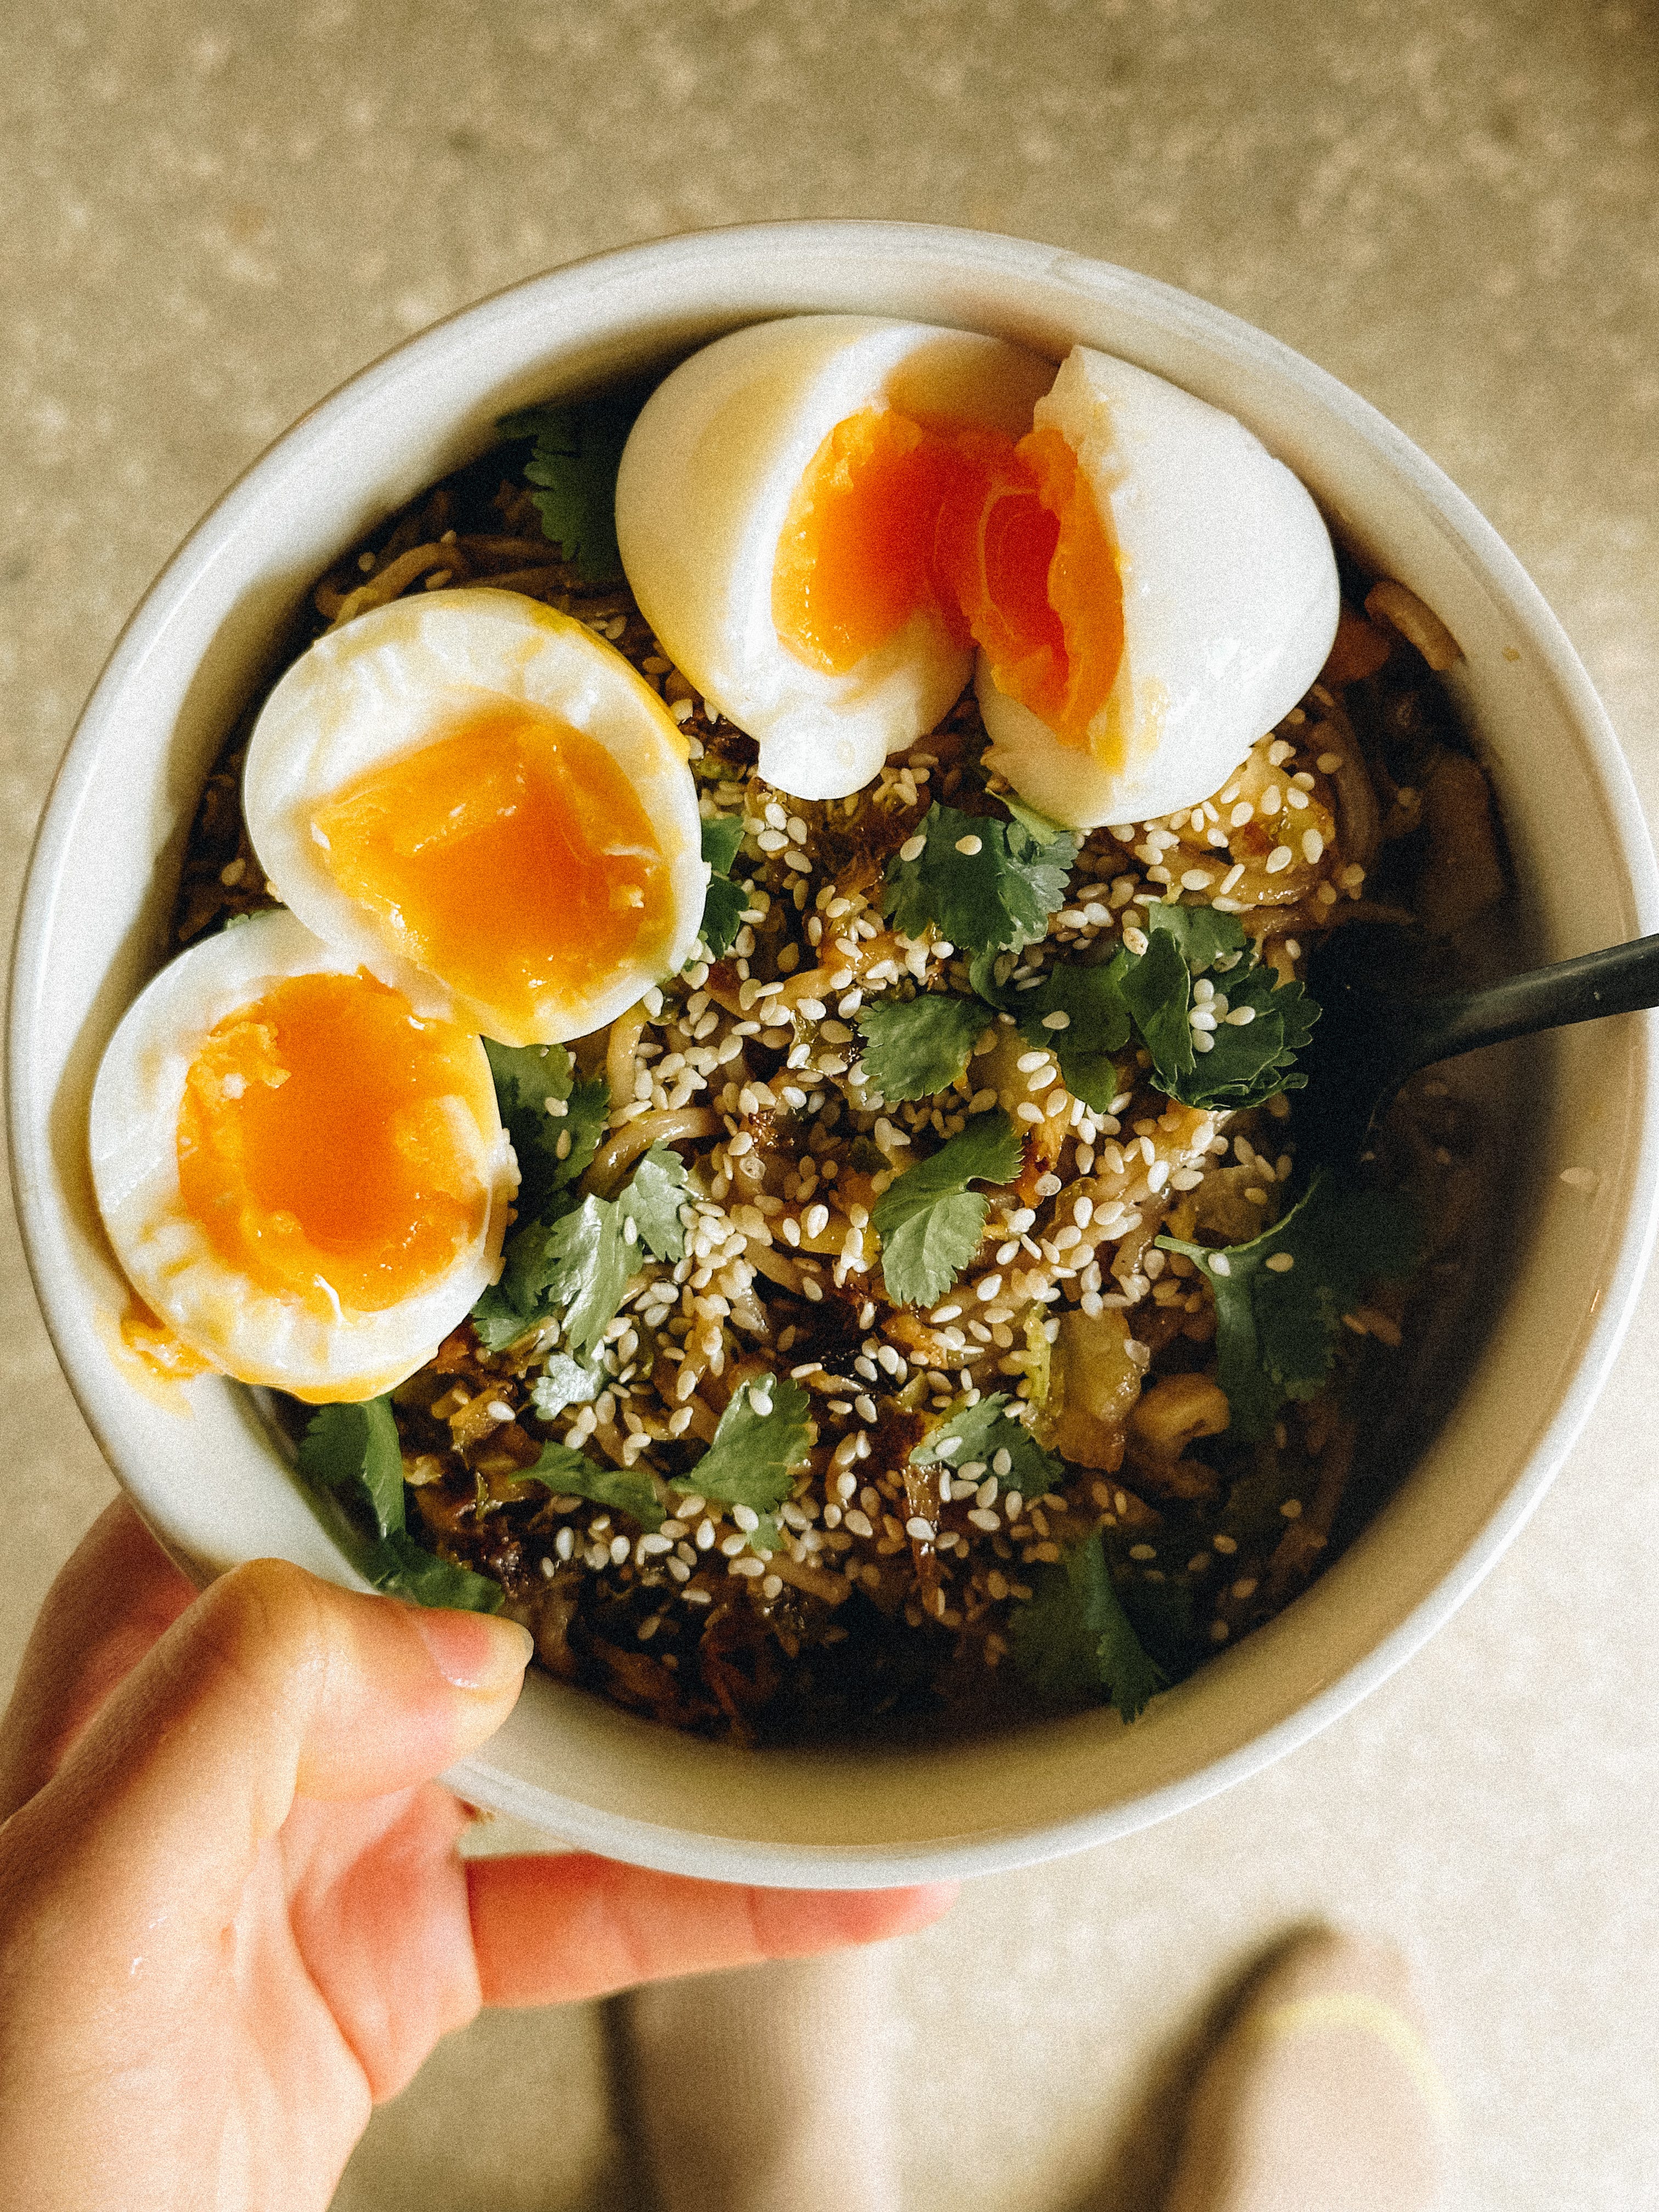
Ingredients:
Organic pasture-raised eggs
About 2 tbsp water (I eyeball this but essentially, I put just enough water for the cooker to build pressure).
Heads up: There are lots of pressure cooker recipes for boiled eggs, and they’re all different. So, this took some trial and error for me, and it might for you too. You may have to play with the timing and the amount of water to get the cook you’re looking for.
Instructions:
Place your eggs and water in the pot, seal the lid, and pressure cook on HIGH for 1 minute. Allow the pressure to release naturally until it’s all gone.
Once the pressure has all released naturally, remove your eggs and place them in a bowl of ice-cold water.
Once they’ve cooled off, you can peel away (I like to do this under running water).
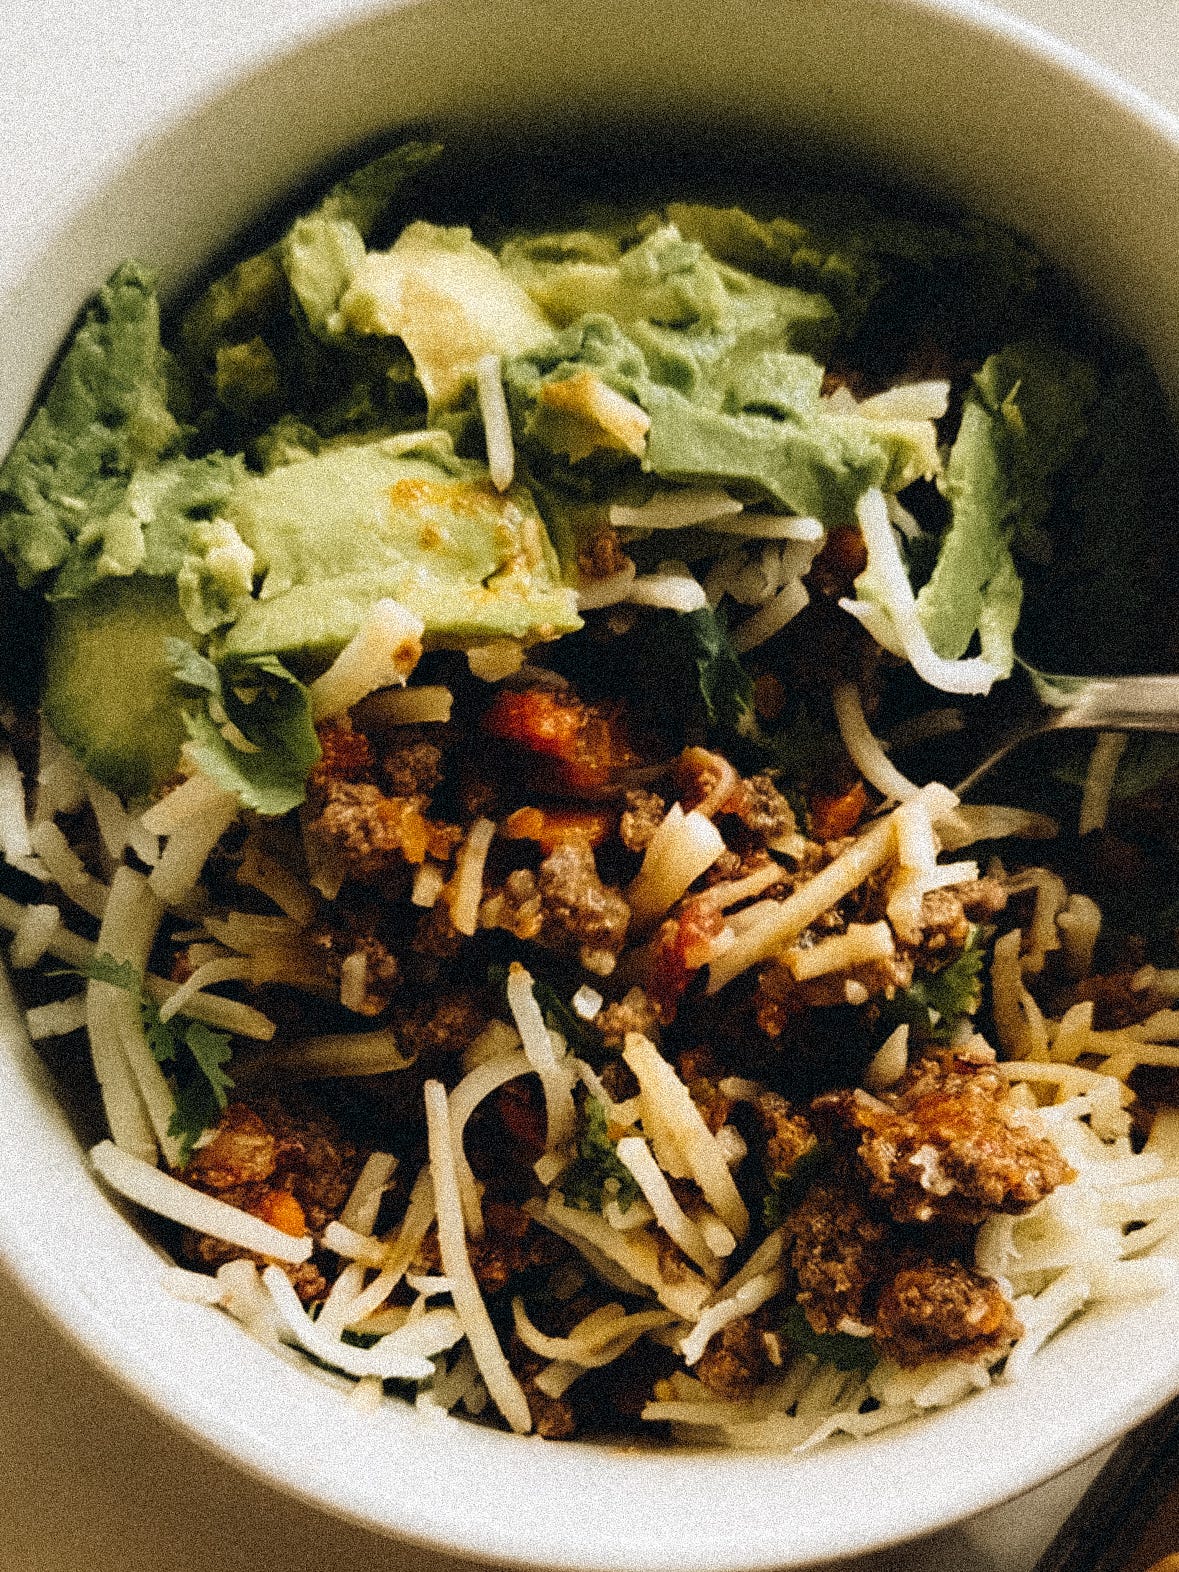
Ground Beef Chili
For a while, I was making this weekly, but then I got pregnant and it grossed me out haha 😅. Now that I’m past the first-trimester grossed-out-by-everything phase, maybe I’ll bring it back into the rotation because it’s SO EASY, you’ll have leftovers, you can have it different ways, PLUS it’s tastyyy!
Ingredients:
2 packs of grass-fed ground beef
1 yellow onion (diced)
3-4 carrots (peeled and diced)
2 zucchini (diced)
8 cloves of garlic (minced)
1 can of fire-roasted crushed tomatoes
1 cup of bone broth
2 tbsp coconut oil
taco seasoning (by Siete Foods)
sea salt
Toppings:
cilantro
avocado
raw cheddar
green onions
Instructions:
Set your cooker to sautee. Once it’s hot, add the coconut oil.
Add the diced onion and sauté for about 5 minutes. Then, add in the garlic, carrots, and zucchini. Continue to sauté for another 5ish minutes before adding in the ground beef, taco seasoning, and sea salt (to your liking).
Right when the ground beef has cooked, turn off the cooker.
Add in the can of fire-roasted tomatoes and a cup of bone broth.
Place the top on, seal the lid, and set to pressure cook on HIGH for 20 minutes. Then, let the pressure release naturally until it’s all gone (you can probably speed this process up, but I usually just let the pressure finish releasing naturally, mostly because I don’t really pay attention to it).
Serve with a side of Siete tortilla chips or on a bed of rice and top with any toppings you’d like.
What I love about this recipe is that you can always change it up – try adding different veggies, have it on rice, with chips, in a wrap, and try changing up the toppings 😜
Whole Chicken
I found this recipe and it’s REALLYYY good 😆. The only thing I change about it is that I use Bone Broth rather than chicken stock, and I skip making the gravy.
Sometimes, I’ll also skip the skin crisping part because I won’t be using it in my recipes (for example, if I’m planning to shred the chicken in the food processor to use in a casserole dish or enchiladas, crispy skin isn’t required).
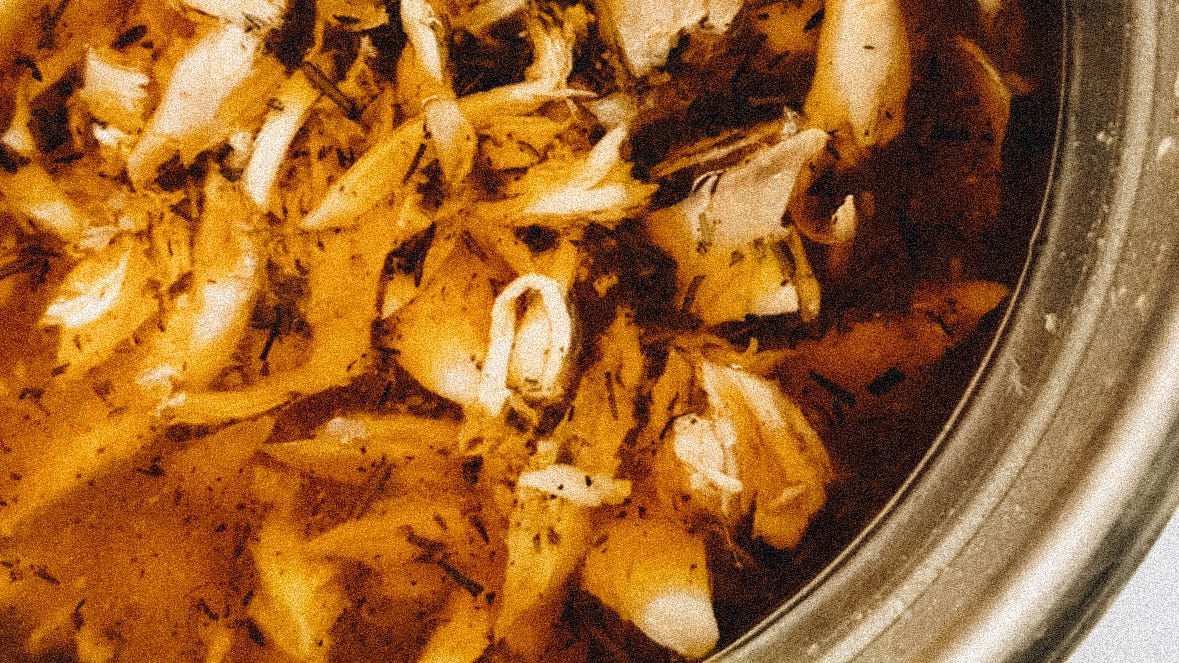
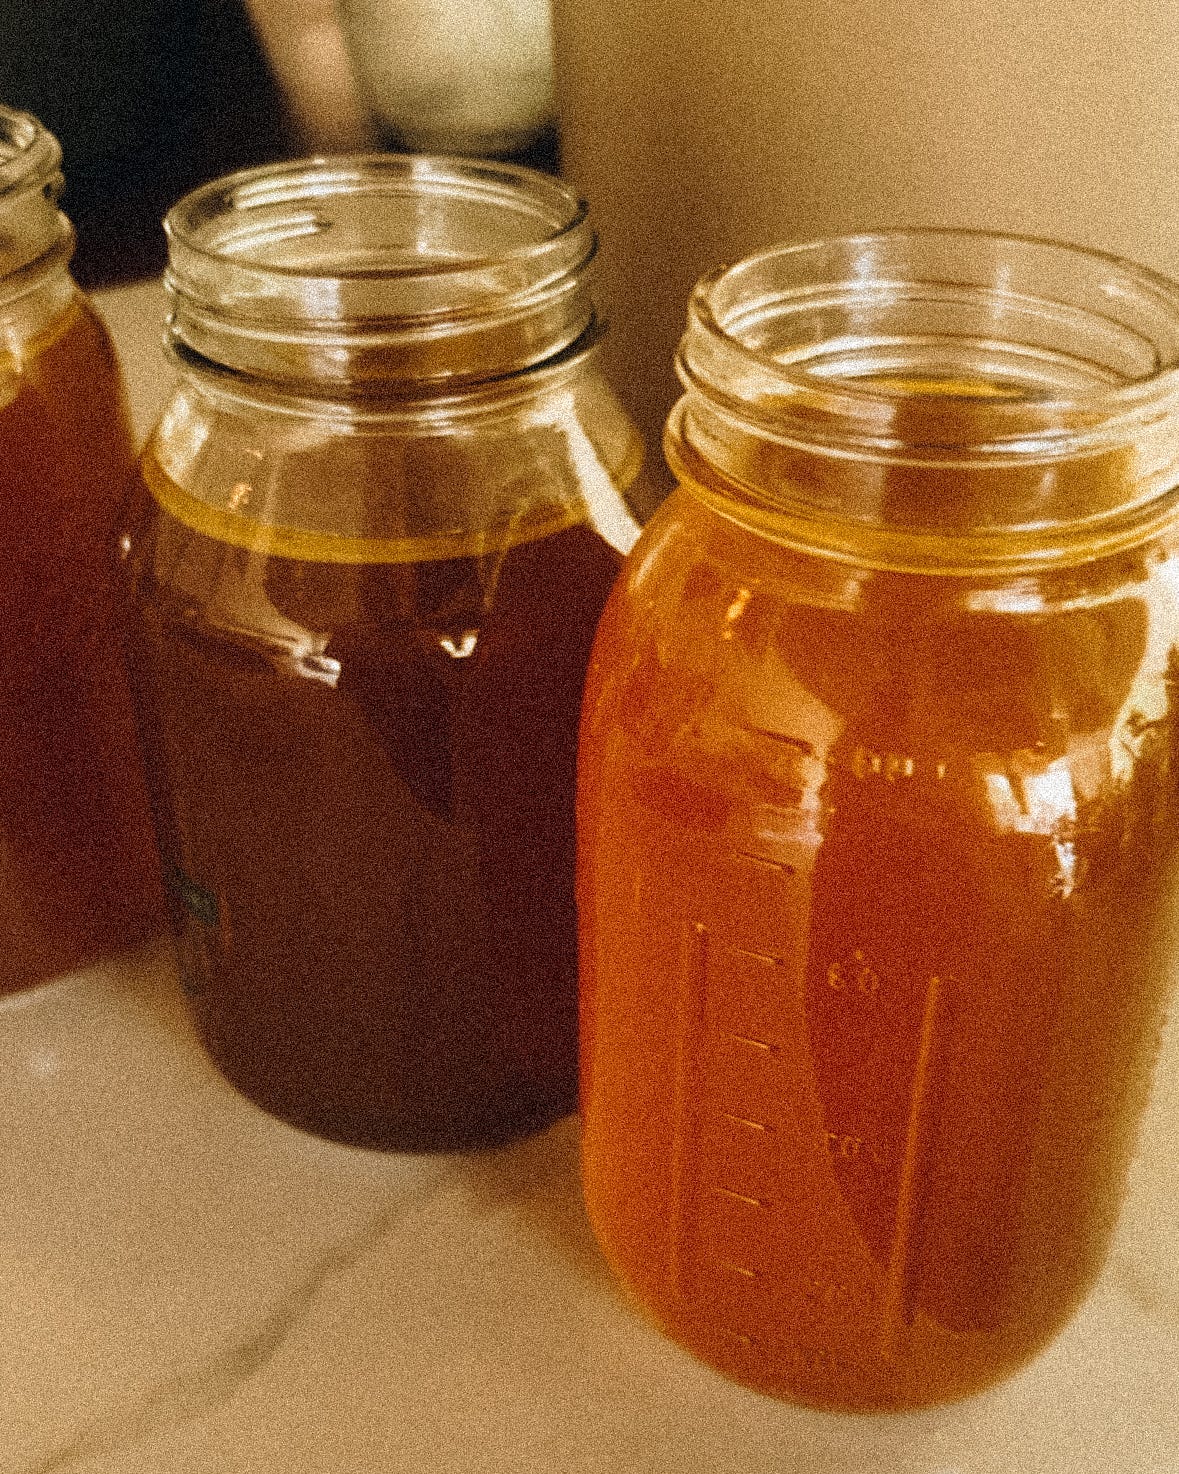
Bone Broth
(with a leftover chicken carcass)
This bone broth recipe is SO simple and requires minimal effort because it uses a leftover chicken carcass. Whenever I cook a whole chicken, I save all the bones to make bone broth afterward. This saves time, money, AND effort (because I don’t have to roast any bones as they’ve already been cooked).
Ingredients:
1 whole chicken carcass
1 whole yellow onion (quartered)
2-3 carrots, chopped
2-3 celery stalks, chopped
any additional veggie scraps you may have on hand
8 whole garlic cloves
fresh rosemary and thyme
salt & pepper
filtered water (I fill the pot as much as possible)
Note: you can play with different vegetables and herbs to get the flavor to your liking.
Instructions:
Add everything into the pot and pressure cook on HIGH for 2 hours.
Allow pressure to release naturally until it’s finished.
Store in glass containers in the freezer for later use.
Allllrighttttt. That’s all I’ve got for you today, but I think that’s plenty to get you cooking with your pressure cooker! 😉 If you have one at home collecting dust, maybe now’s a good time to whip that baby out and save yourself some time in the kitchen!
Mucho love,
Cait
P.S. If you prepare any of these recipes, I’d love to hear from you in the comments below! 😊